
Today I changed some hard disks in one of my home servers, and I decided to reinstall CentOS to the latest version to clean-up the system a bit. For this, I created a boot flash drive and this post exactly about this.
Previously, I used some GUI tools, such as Rufus or Unetbootin, but now CentOS does not recommend their use:
Instead, we need to use the built-in dd Linux utility.
The process is straightforward:
Go to the download page and download the ISO DVD to your PC.
After that, find your USB stick mount point, for example, with lsblk
$ lsblk -So NAME,SIZE,TRAN | grep -E "NAME|usb"
NAME   SIZE TRAN
sdf   14.6G usb
Here you can see that my USB is /dev/sdf
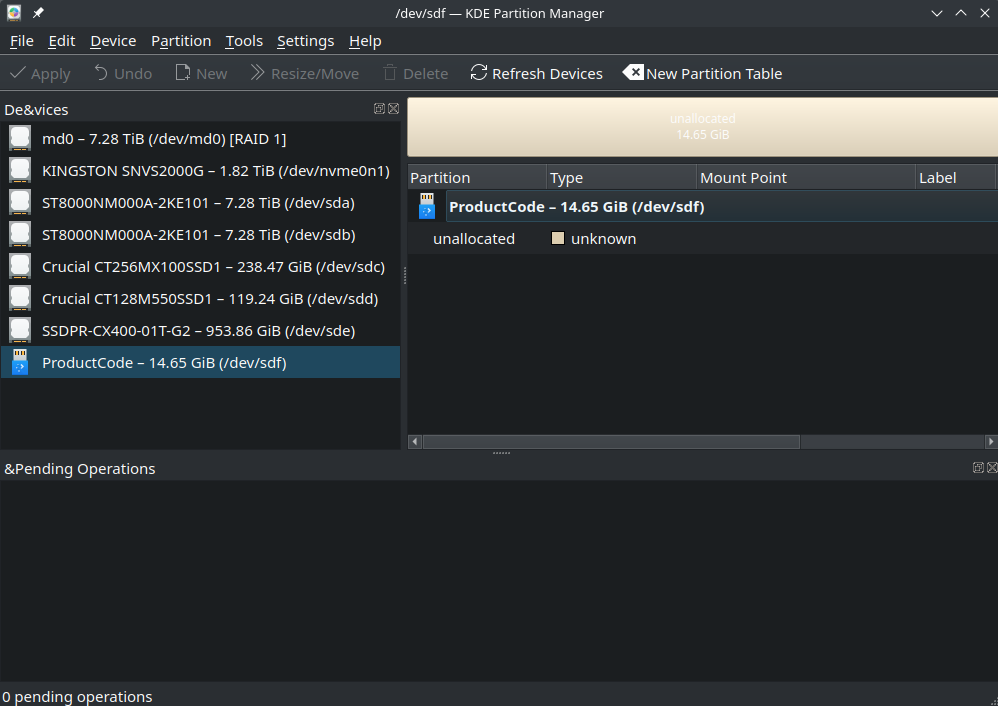
You can also check the same via any partition tool, eg KDE Partition Manager
After that, you just need to run the next command, which will copy everything from the ISO image to the flash drive. Pay attention to specifying your device mount point (in my case, it’s /dev/sdf). Keep in mind that this operation will override all the data at the destination, so it makes sense to double-check it.
$ sudo dd if=CentOS-Stream-10-latest-x86_64-dvd1.iso of=/dev/sdfThe process will take time. The copying speed depends on your USB stick and USB port. For example, I did this on a USB 2.0 port, so it took time.
At the end, you will see some statistical information from dd
$ sudo dd if=CentOS-Stream-10-latest-x86_64-dvd1.iso of=/dev/sdf
14467968+0 records in
14467968+0 records out
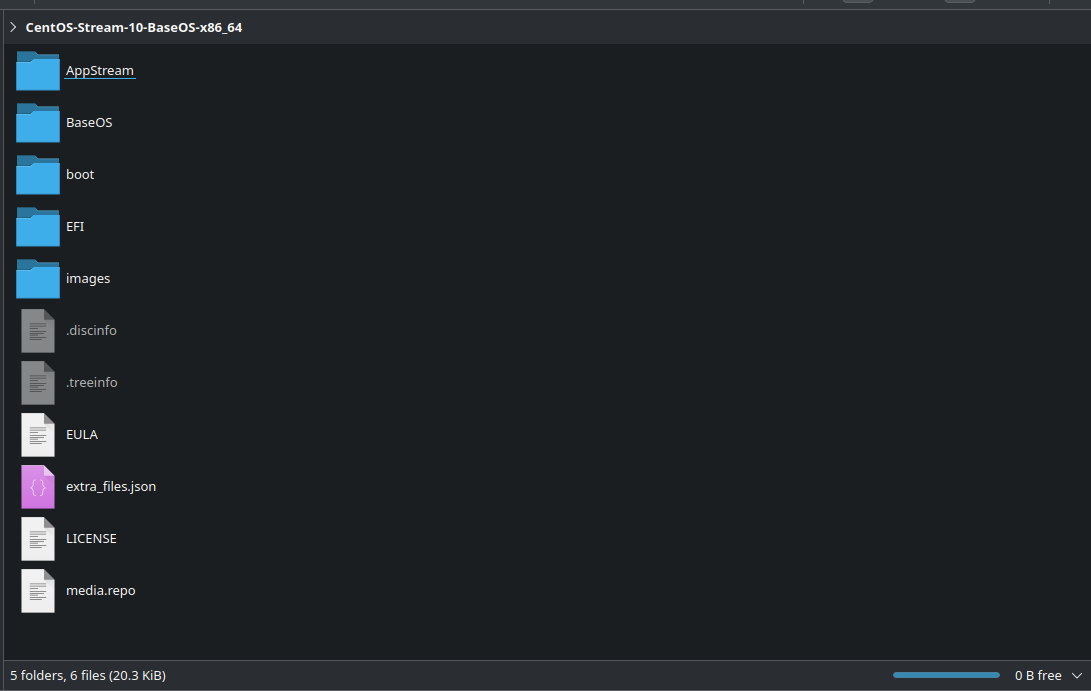
7407599616 bytes (7.4 GB, 6.9 GiB) copied, 2838.83 s, 2.6 MB/sNow, you can mount your USB stick and check the contents
The partition tool will show the next
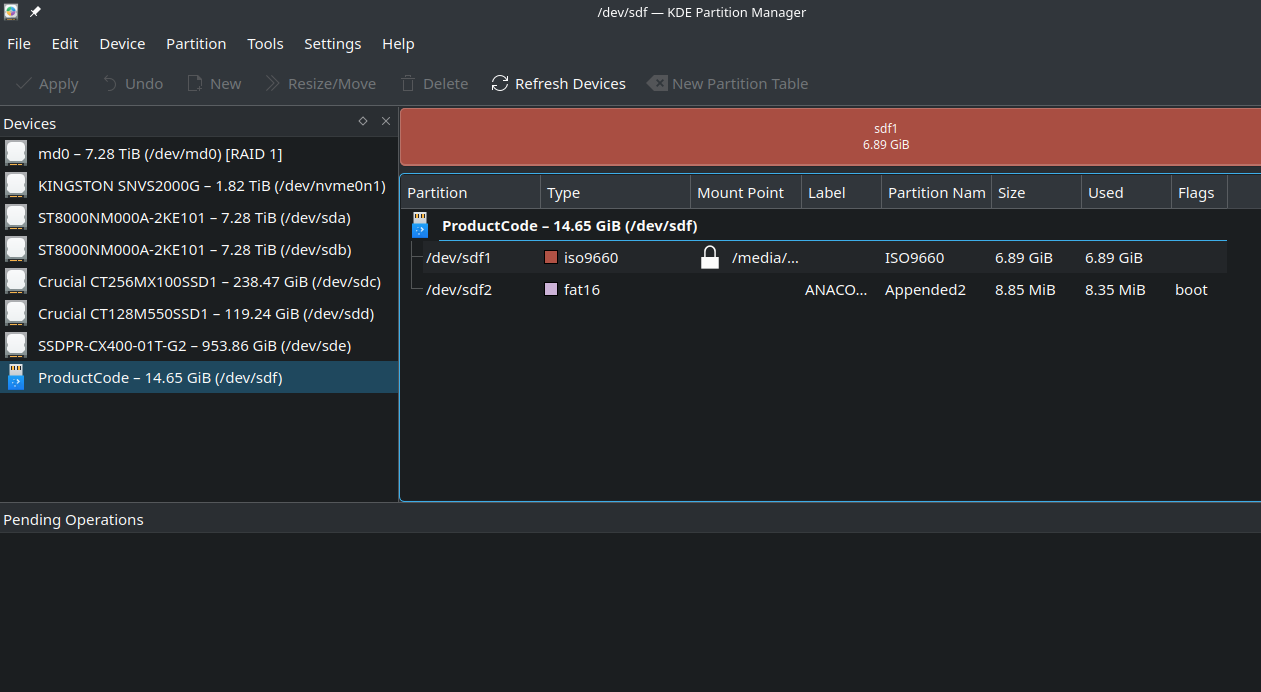
Pay attention to the “boot” flag being set.
That’s all, now you’re ready to use the boot stick! Just insert it into your PC, reboot it, select the boot source via the BIOS, and proceed with OS installation.

