
From time to time I need to remove some artifacts on the images, and for that I usually use Gimp as an image editor. But after few last upgrades I found that the Resynthesize plugin was removed from the “gimp-plugin-registry”package. Today I found solution to fix this..
The Resynthesizer plugin can be found here
- https://github.com/bootchk/resynthesizer
As per recommendation on the plugin page we need to use the flatpak version for the installation. Flatpack is a package manager similar to Snap. The difference can be found in google, so we will not stop on this today.
First of all I removed previous version of Gimp that was installed via the basic Ubuntu package
$ sudo apt remove gimp*Then I installed flatpak
$ sudo apt install flatpakThen you need to append repository for the flatpak
$ flatpak remote-add --if-not-exists flathub https://flathub.org/repo/flathub.flatpakrepoAfter this I recommend to reboot or at least re-login so the system will apply paths needed for the flatpak
After this you can find the packeages that can be installed, in our case it’s Gimp and Resynthesizer plugin
$ flatpak search Gimp
Name                                    Description                                                                                                                                      Application ID                             Version         Branch         Remotes
Resynthesizer                           Resynthesizer GIMP Plugin                                                                                                                        org.gimp.GIMP.Plugin.Resynthesizer         2.0.3           2-40           flathub
Resynthesizer                           Set of GIMP plug-ins that heal (in-paint), synthesize texture, theme an image, and more                                                          org.gimp.GIMP.Plugin.Resynthesizer         2.0.3           2-3.36         flathub
GNU Image Manipulation Program          Create images and edit photographs                                                                                                               org.gimp.GIMP                              2.10.36         stable         flathub
...
Now you can run installation by using “Application ID” as an identifier of the required package
$ flatpak install org.gimp.GIMP org.gimp.GIMP.Plugin.ResynthesizerThen you need to follow the installation dialogue. The flatpak can ask you about the version that need to be installed if like in our case it can be “2-40” or “2-3.36”. I used “2-40”.
After the installation, the GIMP icon appear in start menu, so you can use it as previously. The interesting part was that all my shortcuts rebinding in GIMP was in place, so you probably no need to worry about your Gimp settings.
The result
What Resynthesizer plugin can do?
Ref: https://github.com/bootchk/resynthesizer/wiki/Quick-user’s-guide-to-the-Resynthesizer-plugins-for-GIMP#enhanceheal-selection
- Gimp > Enhance > Heal selection
- Best described as “retouch.” Like the heal tool, but automatic. Replaces the selection to look like its surroundings. Probably the most popular and useful. Use it to make unwanted objects disappear.
- Gimp > Enhance > Heal transparency
- Like above, but you don’t need to select anything, it heals every transparent pixel.
- Gimp > Enhance > Uncrop
- Makes the canvas larger and heals the new transparent border. Not exactly the inverse of cropping, but almost: reconstructs what might have been cropped earlier. It doesn’t “blow up” the image, it keeps the existing image the same size and grows the image around its edges.
- Gimp > Enhance > Sharpen by synthesis
- Sharpening that might give more plausible detail. Slower than other sharpens.
- Gimp > Enhance > Enlarge & sharpen
- Enlarge (increase the resolution) and sharpen. Might restore more plausible detail than simple scaling up and using other sharpens.
- Gimp > Map > Style
- Transfers the ‘style’ of one image to another. Use it for “painterly” effects.
- Gimp > Render > Texture
- Creates a new image having the texture from another image. In other words, a seamless, irregular wallpaper (if the source image is smaller.)
- You can also use Map>Resynthesize to create tiles, and then you can create a regular but seamless pattern.
- Gimp > Edit > Fill with pattern seamless
- Somewhat similar to Render>Texture. Fills with an irregular pattern from another image. Note this is in the Edit menu, not the Filter menu
- Gimp > Map > Resynthesize
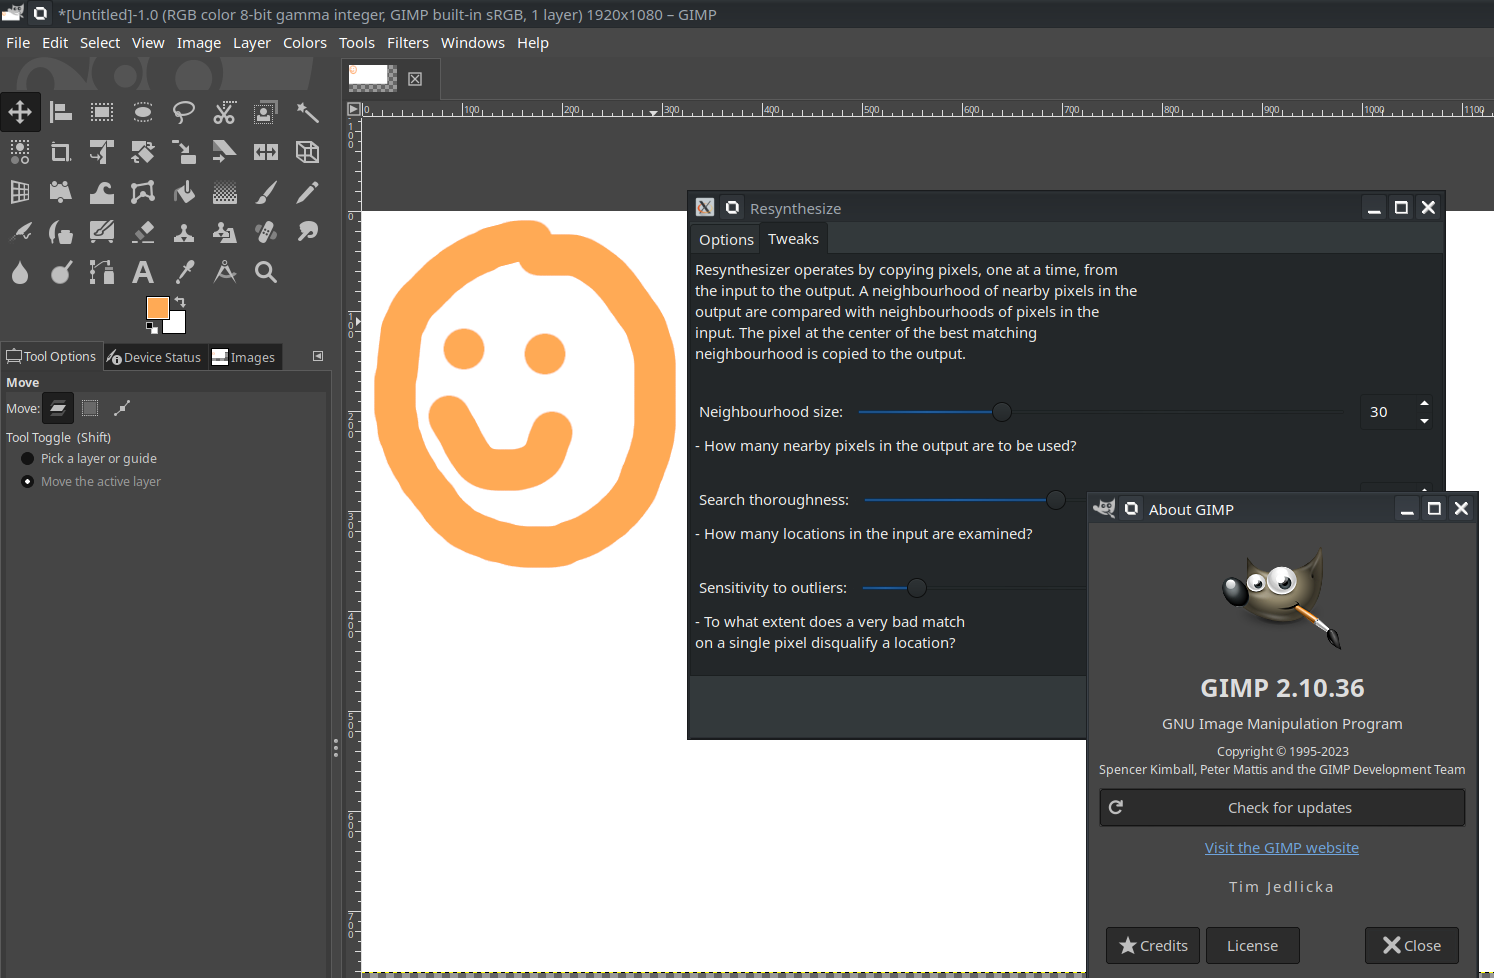
- A control panel. The hardest to understand, but the most powerful. Displays every control of the Resynthesizer engine. Here, you can experiment with other uses of the algorithm.
- To use the control panel, you usually:
- first create other layers and select areas in them,
- start the control panel,
- choose those layers in the control panel,
- choose other parameters,
- finally choose OK to submit to the engine.
- But you must know specific steps to get one of the many effects. That’s what the other plugins do automatically, they “know” the steps. The other plugins can all be replicated by specific steps using the control panel plugin.
- One obscure use of the control panel is to make seamlessly tileable tiles. If you tile the plane with such tiles, you can still see that there are rows and columns, but there are no hard edge between the tiles. (Future: make this use another plugin.)

